Thursday, 17 April 2014

Microbiology practicals

This was my first Microbiology practical. As it was the first practical, all we did was just practising the different techniques.

Demonstrating the need for aseptic techniques.

Everything must be sterile; the medium and the instruments used.  Important things to make sure to do is to flame the neck before and after using glass bottles and to never put the lid down. 
  • I made four agar plates, one plate was open for 10 minutes (to see what was in the air), the second I placed my fingers on the agar surface (to see whats naturally on my hands), the third a small sprinkle of soil was placed on the agar (to see whats in soil) and the final one was left closed as the control. 
  • Then I made 3 tubes of sterile nutrient broth, one with E.coli in, the second with soil and the third was left sterile and was the control.
(Incubation: 37 degrees Celsius for 48 hours).


Streak Plates

I prepared two malt extract agar plates which I left in the fridge to cool so that I had a really solid surface.  The inoculum is spread and diluted over the medium so that single isolated colonies can be seen. This is good if you have a mixed culture as you can then get  a pure culture from it.

Inoculation: A loop is used to spread the culture. The loop is flamed until red hot before and left to cool.  This is so that it is then sterile before used. A loop of culture is removed and then spread over a segment of the dish. The loop i flamed again and left to cool and a little of the previous segment is used for the next segment. this is repeated for another two times. this dilutes the culture so that single colonies can be seen.

(Incubation: 37 degrees Celsius for 48 hours).

Agar Slopes and Agar Butts

These are used as it provides a large surface area for microbial growth. it also means that they are easy to handle and store.


  • Slopes: To prepare them I got two molten nutrient agar tubes and left them to cool in an inclined position. After they were cooled I put a loopful of culture on each slope, one with E.coli and the other with M. leutus. The loop is drawn gently from the bottom to the top of a slope in a serpentine pattern.
  • Butts: A small amount of inoculum on the tip of an inoculating needle is thrust through the centre to the bass of the agar butt.  One was E.coli and the other was M. leutus. this is used to see if bacteria is able to grow in anaerobic conditions

(Incubation: 37 degrees Celsius for 48 hours).


(Above: the top two are the E.coli, the one to the left is best as there are single colonies near the bottom of the petri dish which is what you want. the one in the bottom left is soil and there are things growing on it even though its hard to see. the last one on the bottom right is my fingers... You can see my four finger spots. There is bacteria on almost everyones hand and skin all of the time. The most common is Staphlococcus (a genus of bacteria of which most are harmless and live on the human skin). This is a good thing to have as this protects against pathogens from getting through the skin.) 


Monday, 10 March 2014

UPDATE: Plants Under a Microscope & Rapid Cycling Brassicas

Ive almost completed my portfolio for diversity of life 1. I have to do drawings of samples of angiosperms:

  1. root
  2. shoot
  3. stem
  4. leaf
  5. epidermis
  6. inflorescence
After this I did 3 sections of gymnosperms to compare and contrast. All of my samples are from pine. I did an ovule, stem and a leaf. (below: left to right, stem, ovule and leaf)


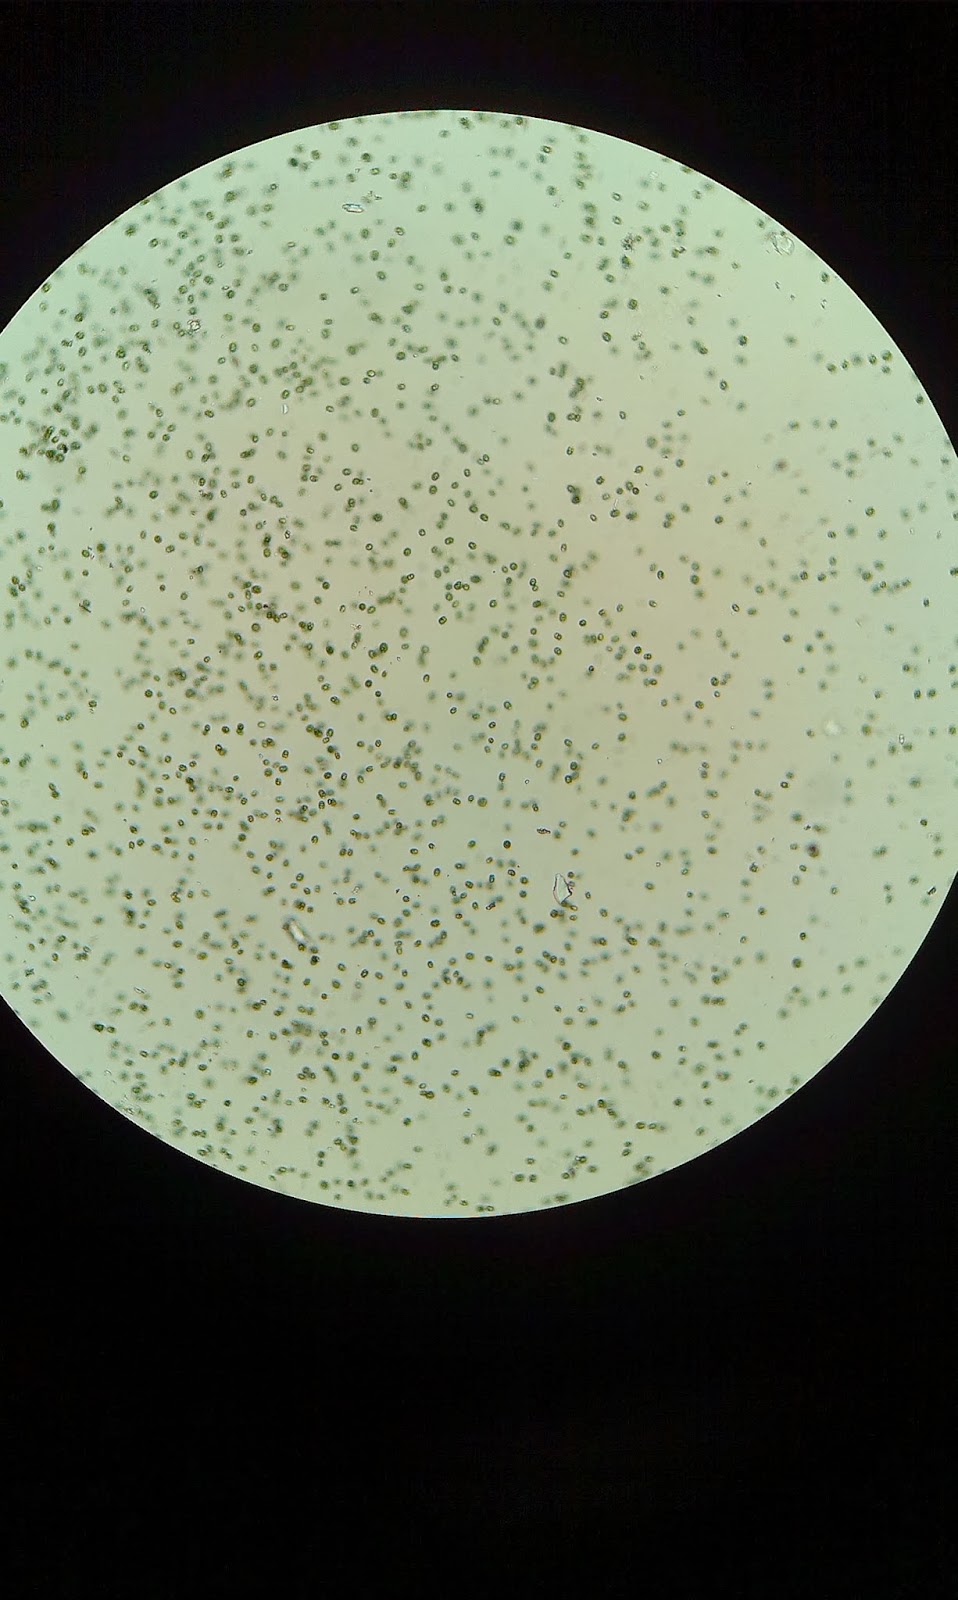
I had to look at 3 live cultures of algae: Volvox, Spyrogyra and Chlamydomonas and make detailed drawings of them. 
The Chlamydomonas moved about a lot and so had to put a Protozoa solution on it to slow the algae down so they were easier to see. 
(Below left to right: Volvow, Spirogyra & Chlamydomonas)


The third section is about rapid cycling brassicas. Each week they'd grow more and more and we had to draw detailed drawing of them at each stage every week. In the picture below you can see the development from when it had just started growing all the way to it producing fruit (seed pods). 


I have done most of the drawings, now I just have to do the write up which is all about the process of growing the Rapid Cycling Brassicas and describing them etc. I will show my drawings once I've finished my portfolio.
I have more pictures on my Flickr of you want to look at the rest! Plants Down a Microscope & Rapid Cycling Brassicas


Steam Diversity Survey: Invertebrate ID's

Following on from doing the stream diversity in Brecon. We pickled the specimens we caught and then a week or two later we started trying to identify them.

I started with a stonefly (Plecoptera) larvae and a mayfly (Ephemeroptera) nymph.
Its easy to distinguish what is a mayfly or stonefly without using any keys however I did so the first time, just to check and its all good practice I guess. A stonefly will always have two tails whereas a mayfly will usually have three (although some have two). then the gills are the second easy detector to see which it is.

(Right: Stonefly specimen under the microscope)

Stonefly

I used a simple key to find out which family it was. which was the PERLIDAE family. The steps I took are as follows:

  1. 3 tarsals not roughly equal lengths. 
  2. The 3rd tarsal is obviously longer than the first two combined
  3. it has obvious gills at the base of each leg ('hairy armpits')
I then got a stonefly book that goes further tan the family and tried to find the species. It was quite easy as there was only two species in this family and so I narrowed it down to:  Perla bipuncta. (left: My field notebook; rough diagrams of stonefly.)


Mayfly

The mayfly (photos below; under the microscope) was harder to identify than the stonefly. I narrowed it down to the family: HEPTAGENUDAE. It has a pronotum with flange-like extension and its eyes are dorsal. 


Im pretty sure that the species is Ecdyonurus insignis (eaton), however the book for the mayfly ID's wasnt as easy to understand and was harder to distinguish between species. However if you look closely at the underside of the body there are dark marking on the underside of the body (you can see this faintly in the picture to the right).


If you want to see more of these photos go to my flickr: Stream Diversity and Invertebrate ID's

(above: my field note book with 
notes and diagrams of the specimen)


Botanical Gardens of Wales

Last week I went on a field trip to the Botanical Gardens of Wales. This was for  my Diversity of Life 1 module.  Early Tuesday morning we set off to go there. Our next assignment is on Fynbos plants which before this trip I knew little about. this is what the trips main focus was on.


The first thing we did was get our complementary tea and welsh cake and were given a presentation about DNA barcoding and how they were progressing.  after which we then went to the Great Glasshouse. this is a mediteranean house and is where we spent most of our day. We were given a talk and shown around  (mainly the South African part) and were shown all the ways that these plants are adapted to their habitats.
 Many of them have lots of thin hairs on their thick leaves to potect itself from the sun and heat.

The king protea has big leaves. these leaves get bigger and waxier as they get older. as well as having big and hard leaves to protect it from the heat, it also moves throughout the day so that the leave edges are always facing the sun rather that the larger surface of the leaf. (Picture of King Protea; Protea cynaroides, on the right).

After we were finished with the talk  we had a tour around the rest of the gardens. There was an installation called the 'ghost forest' which are parts of big tropical trees. The gardens are their final resting place, after travelling to various places.  they will eventually rot and decompose here and will be interested to see what will grow there afterwards.  They have a small Japanese garden, bee hives and vegetable patches to name a few of the things we saw, as well as lots of outdoor flower beds organised in families.  the final thing we saw on out tour was the tropical house. I like this because of how diverse the plants are in it and how much brighter the plants are.

this bought us to lunch time so we had a break and then were free to look around anything we may have not been to or may want to go back to. I went to the 'amazing fungi' area and then back around the rest of the great glasshouse as it was big and it gave us a chance to look around and get some more information about the fynbos plants.

You can see more of the photos from my day on my Flickr : Botanical Gardens photos